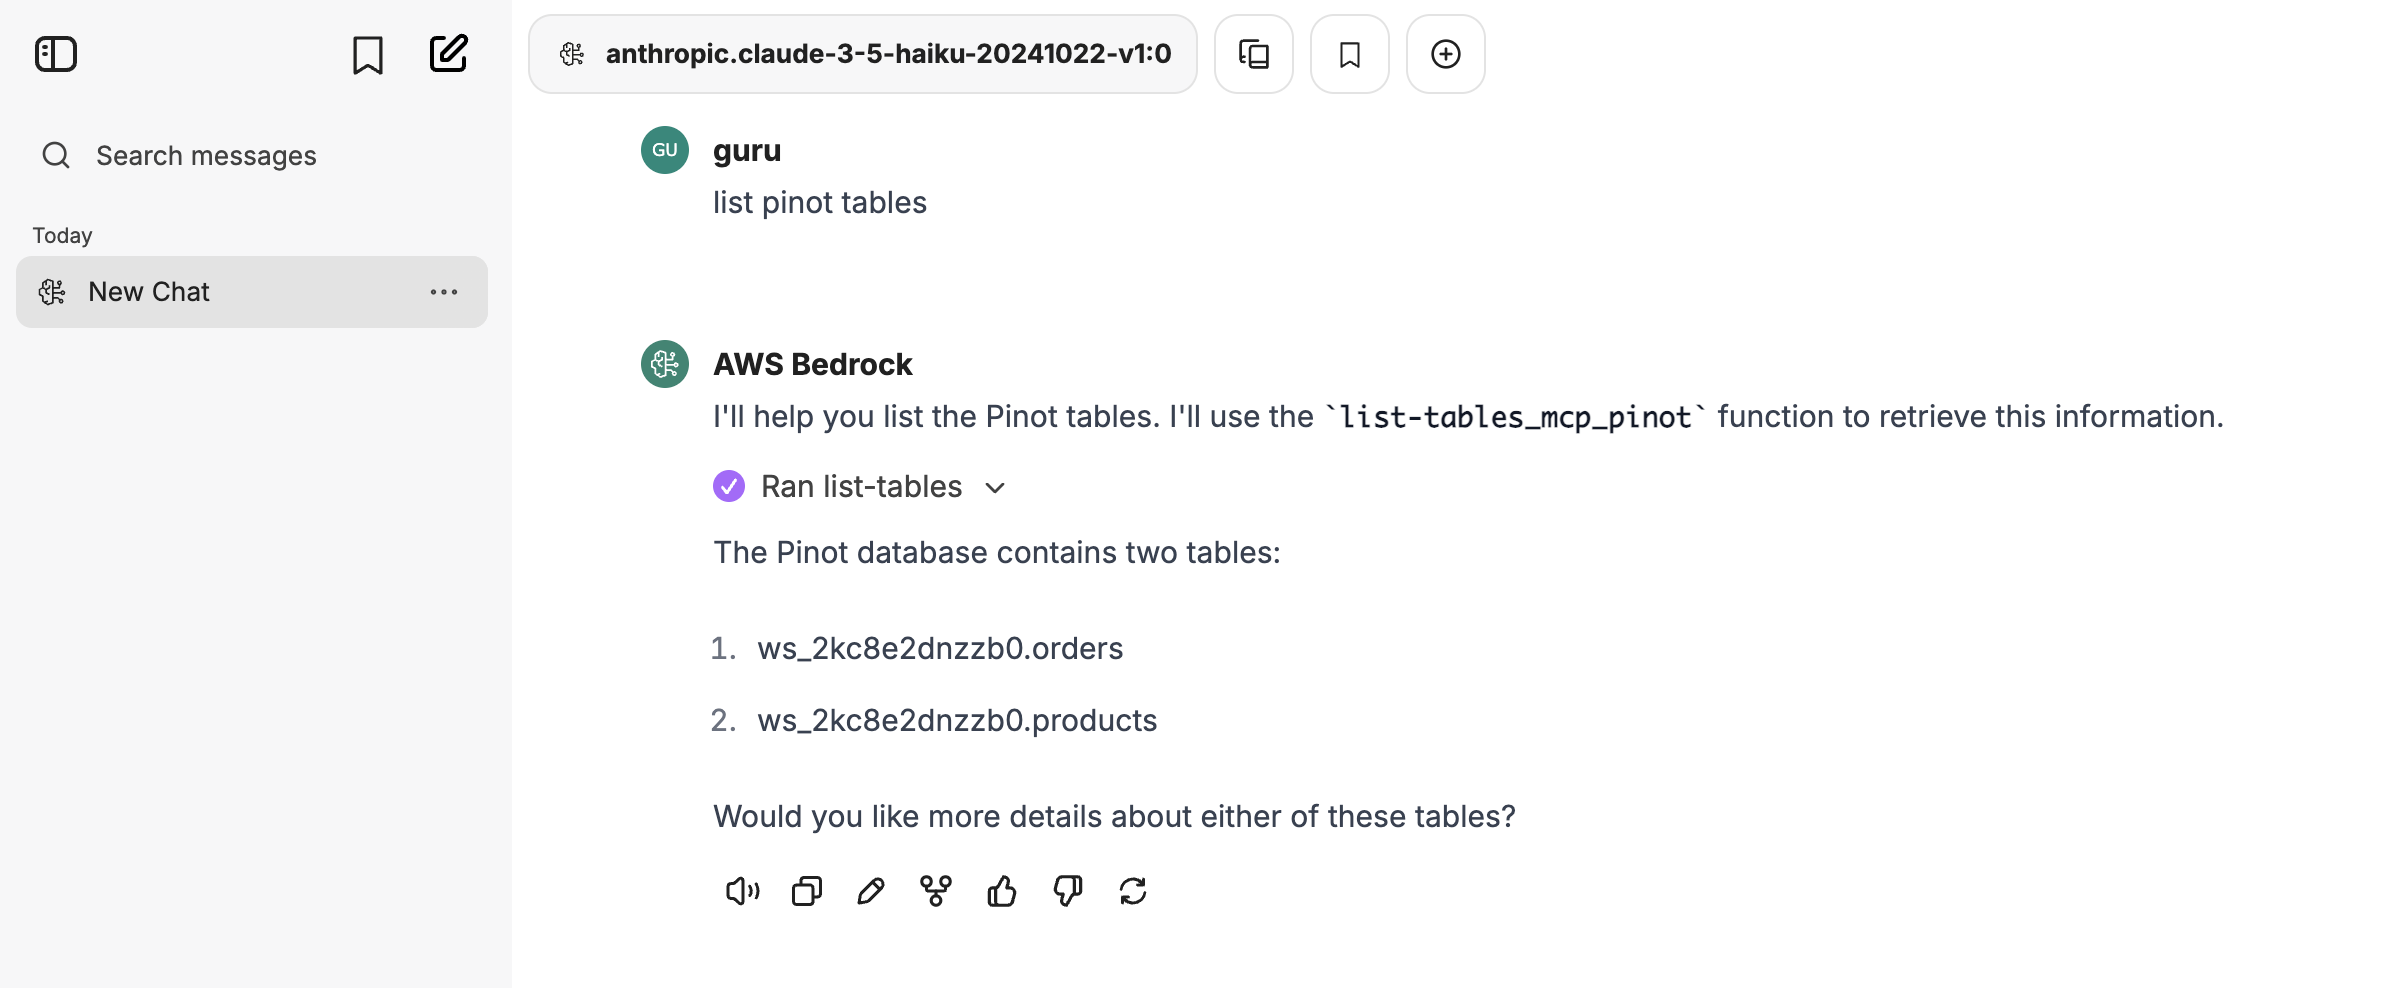
> ## Documentation Index
> Fetch the complete documentation index at: https://docs.startree.ai/llms.txt
> Use this file to discover all available pages before exploring further.
# Librechat
# LibreChat Integration
Configure LibreChat to connect with your StarTree MCP Server and AWS Bedrock for natural language analytics with powerful foundation models.
## Prerequisites
* Docker and Docker Compose installed
* AWS Account with Bedrock access and appropriate IAM permissions
* StarTree MCP Server [installed and running](/corecapabilities/ai/mcp/installation)
* Node.js 18+ (for MCP Supergateway)
* LibreChat repository cloned locally
## Configuration Steps
### 1. Clone and Setup LibreChat
```
# Clone the repository
git clone https://github.com/danny-avila/LibreChat.git
cd LibreChat
# Copy environment file
cp .env.example .env
```
### 2. Configure Environment Variables
Edit the `.env` file with your AWS Bedrock credentials:
```yaml theme={null}
# Basic Settings
HOST=localhost
PORT=3080
MONGO_URI=mongodb://mongodb:27017/LibreChat
# User/Group IDs (to avoid Docker warnings)
UID=1000
GID=1000
# AWS Bedrock Configuration
BEDROCK_AWS_DEFAULT_REGION=us-east-1
BEDROCK_AWS_ACCESS_KEY_ID=your_access_key_id
BEDROCK_AWS_SECRET_ACCESS_KEY=your_secret_access_key
# Specify available Bedrock models
BEDROCK_AWS_MODELS=anthropic.claude-3-5-haiku-20241022-v1:0,anthropic.claude-3-sonnet-20240229-v1:0,meta.llama3-70b-instruct-v1:0
# Application Settings
APP_TITLE="LibreChat with Pinot Analytics"
ALLOW_REGISTRATION=true
```
### 3. Setup MCP Supergateway
Since mcp-pinot is Python-based, we use MCP Supergateway to bridge it to LibreChat:
```yaml theme={null}
# Install supergateway globally
npm install -g supergateway
# Start the gateway (from your mcp-pinot directory)
cd /path/to/mcp-pinot
supergateway --stdio "uv --directory . run mcp_pinot/server.py" --port 8110
# Alternative: Run in background using screen
screen -S pinot-gateway
supergateway --stdio "uv --directory . run mcp_pinot/server.py" --port 8110
# Press Ctrl+A, then D to detach
```
### 4. Create LibreChat Configuration
Create `librechat.yaml` in your LibreChat root directory:
```yaml theme={null}
# LibreChat Configuration
version: 1.1.5
cache: true
# Interface settings
interface:
privacyPolicy:
externalUrl: 'https://librechat.ai/privacy-policy'
openNewTab: true
termsOfService:
externalUrl: 'https://librechat.ai/tos'
openNewTab: true
# Enable registration and social logins
registration:
socialLogins: ['github', 'google']
# AWS Bedrock endpoint configuration
endpoints:
bedrock:
titleModel: 'anthropic.claude-3-5-haiku-20241022-v1:0'
streamRate: 35
availableRegions:
- "us-east-1"
- "us-west-2"
modelDisplayLabel: "AWS Bedrock"
# MCP Server configurations
mcpServers:
# StarTree Pinot MCP Server via Supergateway
pinot:
type: sse
url: "http://host.docker.internal:8110/sse"
timeout: 30000
initTimeout: 10000
iconPath: "/app/client/public/assets/logo.svg"
# Optional: Additional MCP servers
memory:
command: npx
args:
- -y
- "@modelcontextprotocol/server-memory"
timeout: 30000
filesystem:
command: npx
args:
- -y
- "@modelcontextprotocol/server-filesystem"
- "/app/uploads"
timeout: 30000
```
### 5. Create Docker Override Configuration
Create `docker-compose.override.yml`:
```yaml theme={null}
version: '3.4'
services:
api:
volumes:
- type: bind
source: ./librechat.yaml
target: /app/librechat.yaml
extra_hosts:
# Allow container to access host services
- "host.docker.internal:host-gateway"
environment:
# Pass AWS credentials to container
- BEDROCK_AWS_DEFAULT_REGION=${BEDROCK_AWS_DEFAULT_REGION}
- BEDROCK_AWS_ACCESS_KEY_ID=${BEDROCK_AWS_ACCESS_KEY_ID}
- BEDROCK_AWS_SECRET_ACCESS_KEY=${BEDROCK_AWS_SECRET_ACCESS_KEY}
- BEDROCK_AWS_MODELS=${BEDROCK_AWS_MODELS}
```
### 6. Start LibreChat
```bash theme={null}
# Launch the application
docker compose down # Stop any existing containers
docker compose up -d # Start in detached mode
# Verify startup
docker compose logs -f api
```
Look for these success messages in the logs:
```bash theme={null}
LibreChat | 2025-06-04 13:58:17 info: Server listening on all interfaces at port 3080. Use http://localhost:3080 to access it
LibreChat | 2025-06-04 13:58:36 info: [MCP][User: 68404ef09963a7b64176c39b][pinot] Establishing new connection
LibreChat | 2025-06-04 13:58:36 info: [MCP][User: 68404ef09963a7b64176c39b][pinot] Creating SSE transport: http://host.docker.internal:8110/sse
LibreChat | 2025-06-04 13:58:36 info: [MCP][User: 68404ef09963a7b64176c39b][pinot] Connection successfully established
```
## Verify Connection
### Access LibreChat Interface
* Open your browser and go to [http://localhost:3080](http://localhost:3080)
* Register a new account or login with existing credentials
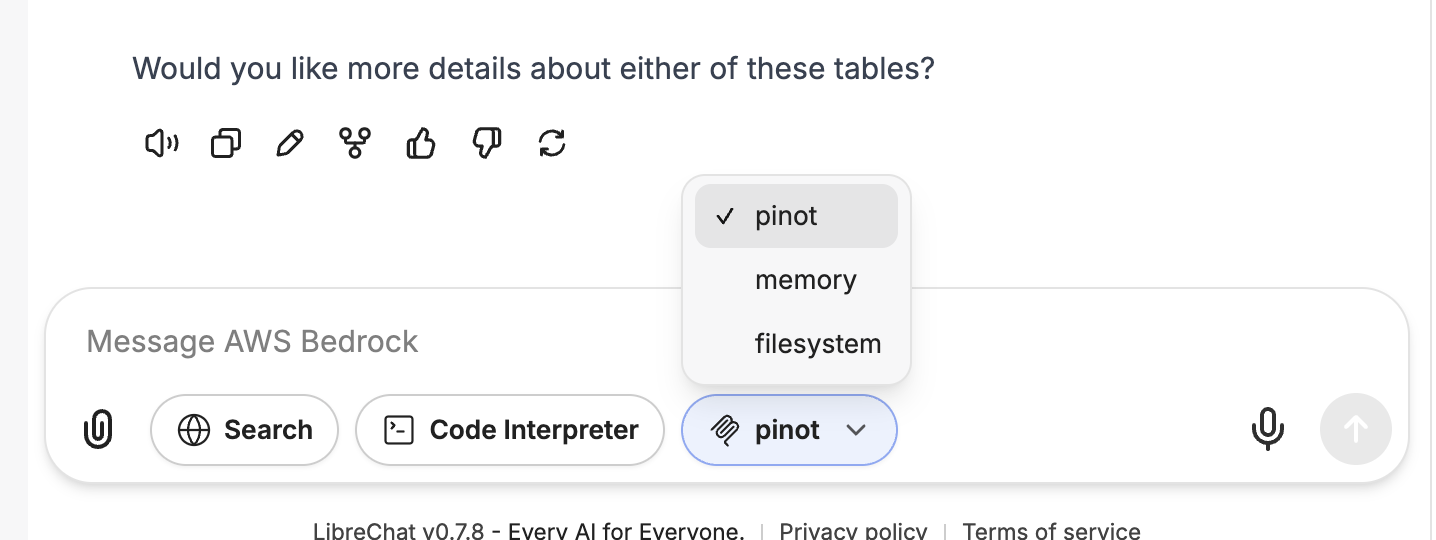
* Look for "AWS Bedrock" in the model provider dropdown
* Look for pinot mcp in the chat dialog
 ## Start Querying
You're ready to analyze your data! Try these sample prompts:
```bash theme={null}
"What tables are available in my Pinot cluster?"
"Show me the schema for the airlineStats table"
"How many records are in the GitHub events table?"
```
## Start Querying
You're ready to analyze your data! Try these sample prompts:
```bash theme={null}
"What tables are available in my Pinot cluster?"
"Show me the schema for the airlineStats table"
"How many records are in the GitHub events table?"
```